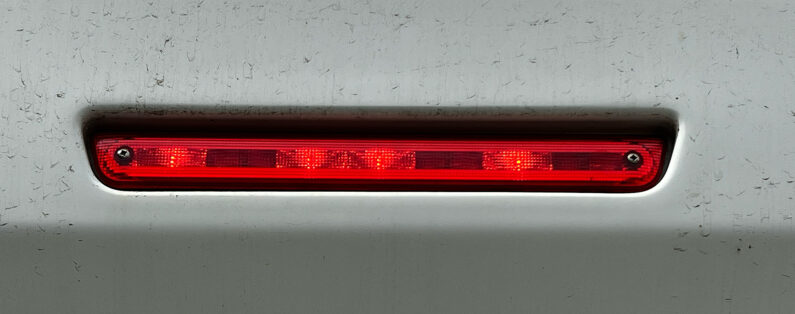
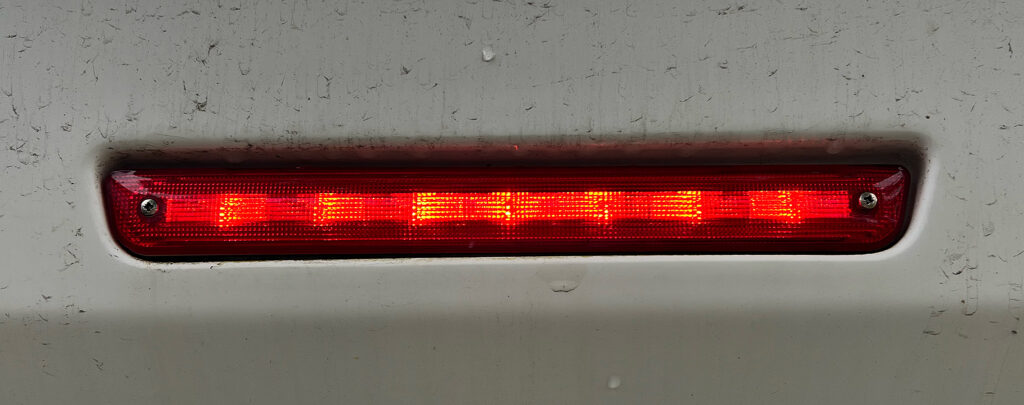
How to Fix a High-Mounted Stop Light in Your Sterling/Swift Caravan
If your high-mounted stop light in your Sterling/Swift caravan isn’t working properly, you can easily fix it yourself with just a few tools. Here’s a step-by-step guide to help you through the process:
Tools Needed:
- Starhead screwdriver (also known as a Phillips screwdriver)
- Flathead screwdriver
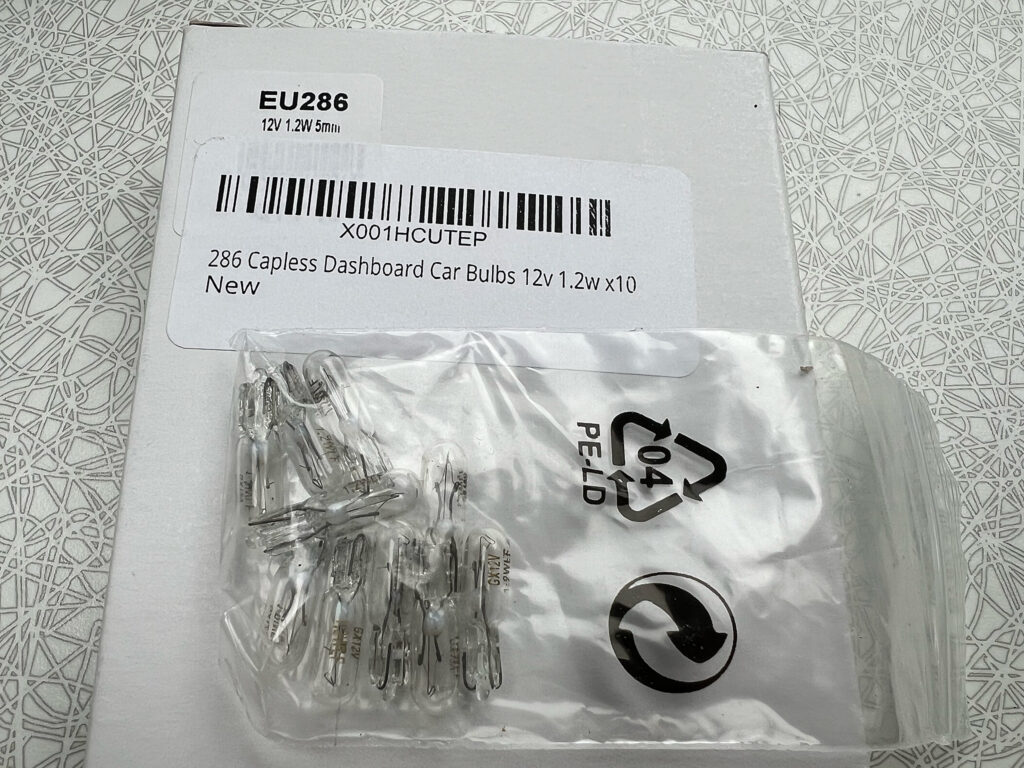
- 286 Capless Dashboard Car Bulbs (12v 2.3W or 1.2W)
- Electrical contact spray (optional but recommended)
Steps to Fix the Stop Light:
- Remove the Stop Light from the Caravan:
- Locate the screws that hold the stop light onto the caravan. These screws are easily accessible from the outside.
- Use your starhead screwdriver to unscrew them and carefully remove the stop light unit.
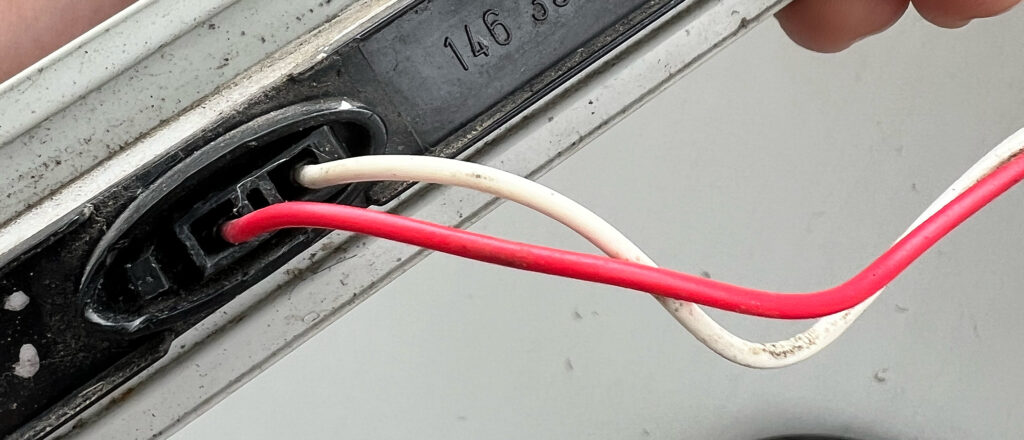
- Disconnect the Electrical Connector:
- At the back of the stop light, you’ll find an electrical connector.
- Use a flathead screwdriver to gently pry off the connector. Be careful not to damage the connector or the wiring.
- Open the Stop Light Unit:
- Once the stop light is unmounted and on a flat surface (like a table), you’ll need to open it up.
- There are three screws holding the unit together. Use your starhead screwdriver to remove these screws.
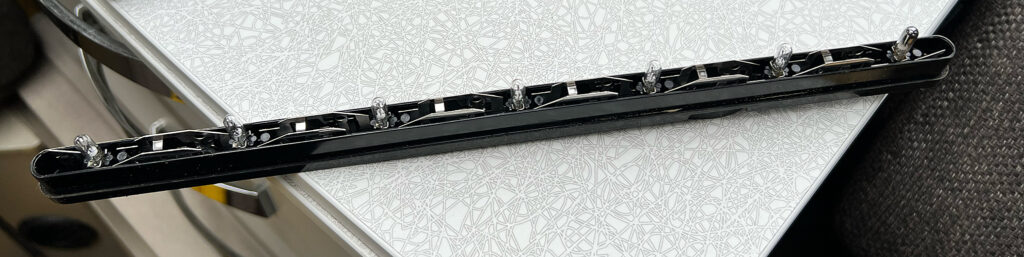
- Replace the Bulbs:
- Inside the stop light, you’ll find seven small bulbs. These are the 286 Capless Dashboard Car Bulbs.
- Even if only one bulb is out, it’s a good idea to replace all of them at the same time to ensure uniform brightness and to avoid repeating the process soon.
- Carefully pull out each bulb and replace it with a new one. You can use either 12v 2.3W or 1.2W bulbs; both will work, with the 1.2W being slightly less bright but still effective.
- Clean the Connectors:
- Before reassembling the unit, it’s a good idea to clean all the connectors inside the lamp.
- You can use an electrical contact spray to clean them. Spray a small amount on each connector to ensure a good electrical connection and to prevent corrosion.
- Reassemble the Stop Light:
- Once the bulbs are replaced and the connectors are clean, screw the light unit back together using the three screws you removed earlier.
- Reconnect the Electrical Connector:
- Attach the electrical connector back to the stop light unit. Make sure it clicks into place securely.
- Mount the Stop Light Back onto the Caravan:
- Align the stop light with the screw holes on the caravan.
- Use your starhead screwdriver to screw the stop light back onto the caravan.
Cost and Savings:
- Replacing the bulbs yourself costs around £5 for the new bulbs, as opposed to over £110 for a new stop light unit.
- By following this guide, you’ll save money and keep your caravan’s stop light in good working order.
This simple fix can be done in about 30 minutes and will keep your caravan safe